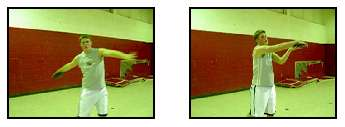
 Today’s blog will address the proper grip and release technique for discus throwers. It is vital for the athlete to be comfortable with the grip and release of each discus throw. To begin with the grip the athlete will evenly spread their fingers out, and the athletes last joint of the finger will be placed on the rim of the disc.1 Some athletes choose to put their middle finger and their index finger closer together, but it is up to the athlete for comfort. The thumb is placed on top of the discus to help with control. Below are three drills to help the athlete perfect the technique needed.
 Swinging the throwing arm1: While the athlete swings the throwing are the discus remains flat. The drill builds confidence for the thrower that the disc will not fall out of their hand due to gravity.
Bowling Drill1: The athlete will get a partner, and they will roll the disc back and forth like they are bowling to one another. The drill helps the athletes make sure they are releasing the discus properly off of their fingers.
Seated Throw1: I prefer for the athletes to sit in a stool and combine the swinging arm drill and the release they practiced during the bowling drill.
 Throw for height1: The athlete will combine drills 1,2, and 3 as they practice a throw while standing. The athlete should focus on the height of the throw instead of the distance to help with the grip and release of the discus.
Thanks for taking time to read my blog! Next week we will be moving on to another throwing topic.
References:
1Harsha, M. (n.d.). Discus Training Progression. In National Throws Coaches Association. Retrieved from http://www.nationalthrowscoachesassociation.com/basic_technique_for_discus_throwing.htm
2Lasorsa, R. (n.d.). Discus Training Progression. In Everything Track and Field. Retrieved from http://www.everythingtrackandfield.com/webapp/wcs/stores/servlet/PBOnePieceView?storeId=10152&catalogId=10753&pagename=186
No comments:
Post a Comment